Tuesday 30 March 2010

Altered Element Upcycling Project - Vintage apron


I was DELIGHTED when my Upcycling Project Pack arrived from the Altered Element. Inside was this:


A delightful piece of vintage cotton fabric which is very familiar to me. It is a Sanderson print of William Morris' 'Chrysanthemum'. Sanderson bought a lot of William Morris designs from his estate and faithfully reproduced them for years. This is one of my favourites and I already have it in 2 other colourways.
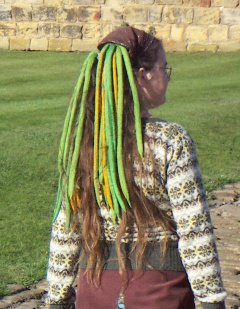
I felt the fabric cried out for further vintage adornments and that it was ideal for an apron:


Here's a few details:


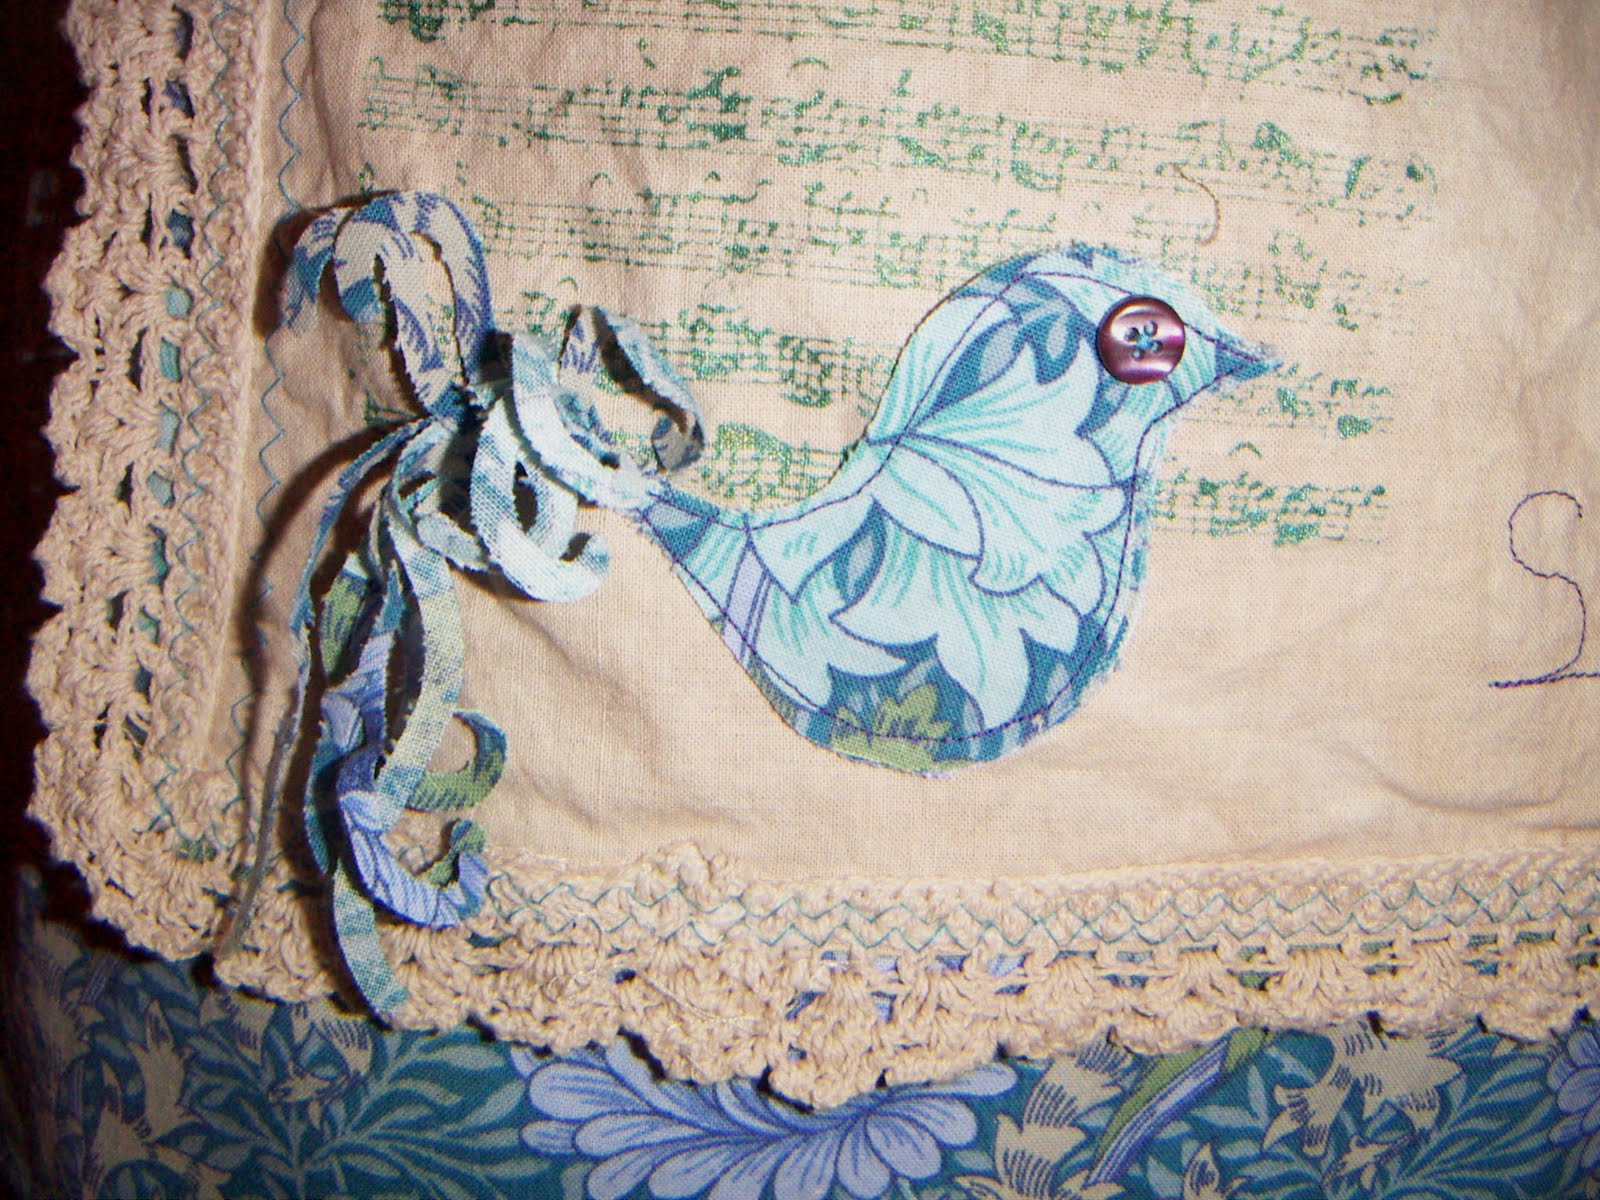
I tea-dyed a doily, then stamped images in various colours of Jacquard Lumiere. This was the first time I had used these paints and they worked very well, I was very impressed. The stamps were Artemio and Inkadinkado. Then I embellished using vintage fabric, Cluny lace, decorative stitching and buttons. I machine sewed the quote.
I then set about making my apron base, cutting a basic rectangle to the required size, heming it and attaching a waistband and ties. I adhered the doily pocket using a large zigzag stitch in a contrasting colour.
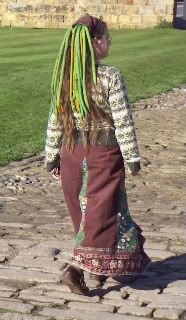
The result: an adorable apron perfect for crafting in.


Jacquard Lumiere is available from the Altered Element, along with Artemio stamps and a hold host of goodies for your textile and mixed media art.

Monday 29 March 2010

Not been around.........

I've had flu and tonsillis for the past week. But I'm feeling better today so I'm hoping to get a few of my projects up here this afternoon. Now, where's the camera.............

Friday 12 March 2010

Bubble printing on jeans


Old jeans make a fun, cheap and sturdy canvas for printing on, and give the great benefit of allowing you to wear your art. In this tutorial I will show you a very simple technique to brighten a pair of old jeans, ideal for wearable art novices.

Supplies:
Plastic bin bag or cover for your table top
Old jeans
Newspaper
Fabric paint
Brayer and ceramic tile
Bubble Wrap

Firstly, cover your table for protection. Insert folded newspapers inside your jeans so that no paint soaks through and lie them on the table.
Pour a small amount of paint on the tile and roll the brayer backwards and forward to create an even coating.


Apply the paint evenly to the surface of the bubble wrap. How much your apply will affect the outcome - experiment and be prepared for an eclectic result!


Place the bubble wrap on your jeans and gently but firmly apply pressure. Do not squash it down as that will cause the paint to pool in the crevices of the bubble wrap (unless you want that look, of course). Carefully lift off the bubble wrap and the print should look like this:


Then work your way up the jeans, stamping paint in layers. Don't forget the edges of the jeans - do check that the pattern reaches all the way round. You could also choose to just print on some areas of the jeans - it's entirely your call. I starting applying brown shades at the bottom, working my way up to greens at the top. Do the same with the other leg. You can see in my photograph where I added a heavier layer of orange paint on the lower legs, the pattern is brighter there.


Now to do the back. If your paint is quite thick, or you are concerned about smudging your pattern, you can leave the front to dry for a few hours before turning over. But I am an impatient crafter and started on mine straight away :)
When you have finished, let your painted jeans dry and then iron to set the paint according to the manufacturer's instructions. Feel free to add any embellishment now, perhaps some random embroidery on the edges or pockets - I've added a dyed and painted doily to the pocket, with a few vintage buttons, and brayered excess fabric paint on the seams and hem of the garment.


Now you have a fabulous pair of jeans to wear, totally individual and all your own work. Experiment with using other objects to stamp on jeans; jar lids, corks, corrugated card, old toys..............

More ideas for stamping onto jeans coming soon.

Fabric paints are available from http://www.alteredelement.co.uk

Thursday 11 March 2010

Cocktail dress, sound of music style.

I love this dress, the fabric is pretty with a slight sheen and the style is smart yet flirty. It was made using a gorgeous vintage cotton sateen curtain, with the original sateen curtain lining as it's own lining. Modelling was a bit awkward, as the dress is size 16-18 whilst my mannequin, Valerie, is only a 12 and doesn't really have the bust for it :):


The back is laced with gold ribbon:


And the co-ordinating necklace is vintage braid with a yellow chandelier drop:

Goodies arrived!

I indulged myself at The Altered Element to celebrate being chosen for the design team:


All 8 UTEE Brightz - aren't they fab! And Jacquard Lumiere - I've been wanting to try these out for ages. Not in the pic is my fusible film and new Cosmic shimmer mists. I'm so excited, I need some play time ............hears distant beckoning call of her studies................

Wednesday 10 March 2010

Yet more napkins........


What is it about napkins, I can't resist them! Popped into Waitrose to get some yummies as we have a 9 year old guest for tea and succumbed to 4 packs of napkins! But they are lovely - I adore the Union Jack one. Will collage them onto some calico later today, ready to make some special accessories.

Monday 8 March 2010

Exciting times ahead!


I am delighted (and astonished!) to announce that I am now a member of The Altered Element Design Team. I was particularly drawn to apply for the team because the store has such a fantastic range of goodies for the textile and mixed media artist - I originally found it on a hunt for fine metal mesh, an elusive item which I am pleased to have finally tracked down. I love their product range and am unbelievably excited to be part of the team.
For a look at the wonderful things on offer, please visit http://www.alteredelement.co.uk

Friday 5 March 2010

Finished my bird charms


This is one of 14 charms made for a charm swap on UKStampers. It was made from pearl polymer clay which had been conditioned, stamped and then cut with a cookie cutter. An attachment hole was added before baking. Afterwards I layered pastel shades of acrylic paints to 'age' it. I used brass wire to attach a pearlised bead and form a loop, and added a split ring to attach.
Looking forward to seeing the others in the swap :)

I have a new toy :)


I'd been thinking about getting a Fuseworks microwave kiln for a while and read up some reviews. On face value, the forum reviews seem mostly negative. But delving deeper, you find that most of the comments come from people who haven't used it (but are convinced it would catch fire), sellers of bigger, more expensive kilns and jewellery designers who think small kilns would be unprofessional. The reviews I found from ordinary crafters who have bought one generally were more 'Wow! This is great fun!'. So I indulged myself and bought one off ebay for £69.
Here's my first effort, using the millefiori glass pieces they supplied so it's rather unoriginal in it's design (but cute anyway):


Apologies for a dark pic, night time photo.The edges of the glass need filing but it did work really well and nothing caught fire ;) It was a doddle to use. I'll contiinue playing and perhaps try fusing some recycled glass.

But the real reason I wanted a Fuseworks is to fire Precious Metal Clay, as I'm too much of a wimp with the blow torch.............

Wednesday 3 March 2010

My comments!

My comments appear to have disappeared from most of my blog! Where did they go?! They were there last week.
A cyber mystery.
Annie
Edited to add - it seems to be a wider Blogger problem and lots of people have reported it. So not just me being a non-tech wizard then!

Monday 1 March 2010

My muse


My husband has bought a better computer (so he and the boys can play more PC games!) so my usual one is now in the spare room. Spare room is a somewhat loose term, as it contains no bed, just a small desk, my embroidery machine and paraphernalia, several shelves of books (from quantum physics to nursing to art, noting the diverse pursuits of the household) and a mindboggling amount of fabric for my business and pleasure. From this new vantage spot I can see a trinket made long ago for an altering challenge - my muse :)
Yes, she really was a spark plug. Her arms are made from brass wire twisted round her body, her head is a fabric covered button, her dread-like hair is yarn, and her eyes tiny beads. Her dress is a beautiful batik cotton, which suits her colouring wonderfully. She is friendly and pretty and it is lovely to have her beside me.