Thursday, 2 September 2010

Altered Element DT tutorial - bag dyeing with Procion MX


I do a lot of dyeing when producing clothing for my store, most commonly using the low water immersion technique on organic bamboo velour, a delightfully strokable fabric. But there are many different ways to apply Procion MX and today I thought I'd show you how to dye in a polythene bag. The measurements given are based on those by Ruth Issett in her book 'Colour on Cloth', though I tend to be flexible in how I stick to these. This recipe makes approx 6 bags of fabric.

Firstly, make up your chemical bases and label and store in airtight containers:

Chemical water:
140g urea
1 tsp Calgon
1 litre warm water

Soda ash solution:
20g soda ash
1 litre very hot water

Select your dyes. If dyeing is new to you, try starting with the 6 basics: lemon, golden yellow, scarlet, magenta, turquoise and ultramarine. For each colour mix a teaspoon with 25mls of warm water, not too hot, stirring well to dissolve all lumps. Add 100mls of chemical water to each pot.

Select your pre-washed fabrics. If you want to experiment on different types of natural fabrics then cut 5-6 squares of fabric per bag, approx 15 by 30 cms each. If you want to dye larger amounts then increase the proportions of mixtures added to suit. I wanted to dye some craft muslin/scrim for a project so chose to cut narrow lengths of this instead.


Add 25mls of dye solution to a bag and squeeze the bag to ensure that the dye reaches all areas of the fabric. Add more dye mix if needed. This can be a different colour if preferred, which can give interesting results if carefully handled, but do be aware that if you use a mix of 3 primary colours it may turn muddy brown if mixed too vigorously. Tie the bag and leave for 10 mins. Repeat for all 6 bags. I made my 3 bags with orange, golden yellow, green and brown dyes, which I used in combination.
After 10 mins add 25 mls of soda solution (more if more dye mixture was added) and squeeze to ensure absorption.
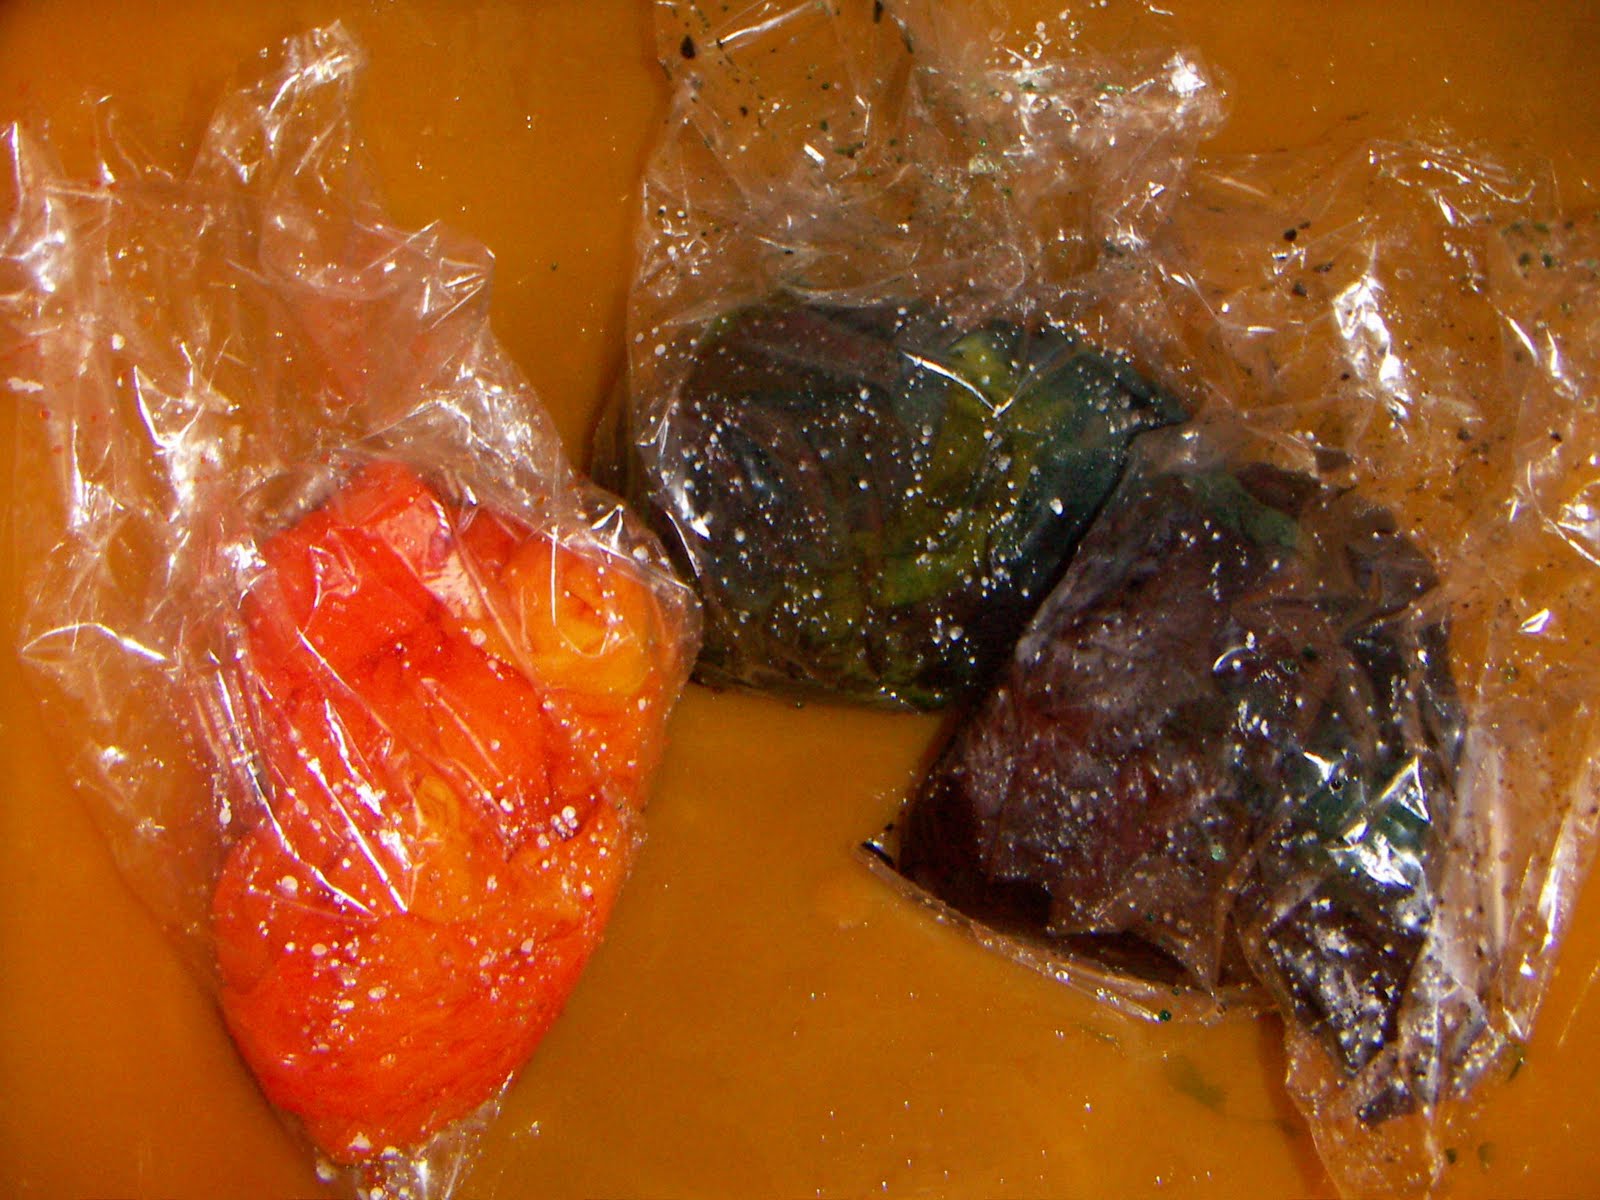

Tie up the bags and leave overnight. Next days, rinse in cold water then wash with a cleaning solution such as Synthrapol or Colsperse. Rinse until clear. I do all this in a washing machine but I'm lazy and often have large amount of fabrics to finish :) For craft purposes. soaking and rinsing by hand may give a deeper colour.


Check back over the coming weeks to see what I did with my dyed scrim ;)

Goodies received from CNA craft swap


Recently on Cloth Nappy Addicts I took part in a craft swap, using stash to make anonymous goodies for a partner. Yersterday I received my swap and I love it!
I received a gorgeous and roomy messenger bag in William Morris' Blackthorn (gren colourway) and purple trims. It is just what I need as I've been meaning to make myself a large bag for ages. And it was accompanied by a matching chipstone bracelet in just the right colours, sitting on a square of the same fabric.
Thank you swapee, they are lovely :)

Wednesday, 25 August 2010

Bunting and mail art 2 swaps

Lots of busy swaps on UKStampers at the mo!
Firstly, the bunting swap. For this one we all had to make a single piece of bunting, sized 5 by 8 inches, for each of the group according to their colour theme. I decided to make mine from calico, spraying Ranger colorwash and/or Cosmic Shimmer mists through a Tim Holtz clock mask. Over this I machine stitched a meandering trail. I then hand dyed/painted pieces of cotton cluny lace with various mists and Jacquard Lumiere paints and stitched this on with a wide zigzag. Various images from Artchix and Utkupilli were sewn on and inked captions added. These captions were taken from an index page of a first world war song sheet and were quite random!
Minxy is kindly stitching the bunting into strings. I'm looking forward to seeing my completed bunting :)


We've also been signing up for another mail art swap. My postcard is again on a calico base, dabbed with Jacquard Lumiere, which gives a lovely subtle shimmer. Painted cluny lace is stitched on to appear as waves and an Artchix mermaid is stitched on with another of those song sheet titles - Sandy Hook sounded irresistible as the name of a mermaid! Thinner white cluny lace is stitched on as an accent, representing sea foam. My postcard will be sent naked through the post. I hope the recipient likes it.


UKstampers is currently signing up for a Christmas decoration swap. Do pop in and have a look on the forum, lots to do there.

Child's patchwork quilt - clowns


I've recently started making patchwork quilts. With the exception of my recent William Morris patchwork top, I haven't done any patchwork for about 15 years and those early attempts weren't quilted or bound properly. So I thought I'd start with some simple designs.
This patchwork is a simple log cabin of my own design with pink and blue sides adjacent to beige and green, arranged in a zigzag formation. The top was made from a strip roll (and a half) by Fabric Freedom called Nature's Tones - Pastel and the back is vintage Laura Ashley cotton. The quilting is a simple square design stitched in the ditch. It is approximately 150cm square.


I've now started on a strip quilt of my own design using Moda Bar Harbor scraps and vintage sashing.

Thursday, 12 August 2010

The Altered Element DT tutorial - lino carved stamps

I was very excited to receive a new challenge from The Altered Element this month - a lino carving kit! I've never tried making my own stamps before so this was great fun. I thought I'd write a tutorial to show you just how easy it is to make your own stamps.
The lino was Softcut so easy to carve and had a helpful white surface to draw the design on. I decided to draw a stylized greek horse.


This was cut out using sharp craft scissors (the edges were neatened later with a lino cutting blade).


I carved inside the horse using mostly a size 1 blade. The correct angle to carve at is about 25 degrees, this way the blade glides through the surface. Carve away from yourself slowly, carefully avoiding your other hand.


To ink your stamp, pour printing ink onto a tile and load on to a brayer evenly. Apply the ink to your stamp using the brayer. Place your paper onto the stamp and gently brayer over it to impress the design. My layer is slightly thick, printing ink is not my usual medium! I'll know to add less ink next time.

Here is the first print, with another print taking directly afterwards without re-inking. I wanted to show my first attempts to demonstrate that lino carving is not difficult and gives great opportunities for original designs.


I've got plenty of plans for this stamp now and want to play some more, will be trying it out with other inks and paints - can't wait to try Jacquard Lumiere with this. Watch this space.
Lino carving tools will be available soon at The Altered Element.

Mail Art - fabric postcards

On UKStampers we've been having a mail art swap. I couldn't resist making mine from fabric :)
Here's my one for Sid, made with calico, Ranger Colorwash, and stampers by PaperArtsy, Purple Onion and Stampers Anonymous.


Loved doing this so much, I had to make another to send to Lynne from The Altered Element. This one is stamped vintage fabric, painted bondaweb, PaperArtsy image and random haberdashery.


I may have to do more, it's a lovely size to work with.

Wednesday, 21 July 2010

Altered Element DT - stamped and quilted journal cover


I was delighted to receive this sewing themed stamp set by Creative Expressions and a journal from The Altered Element as this month's design team project. The stamp set is delicious and will have a multitude of uses and the journal is just right for recording colour themes and tips from classes. The stamps were calling out for fabric so I decided to create a stamped cover for the journal.


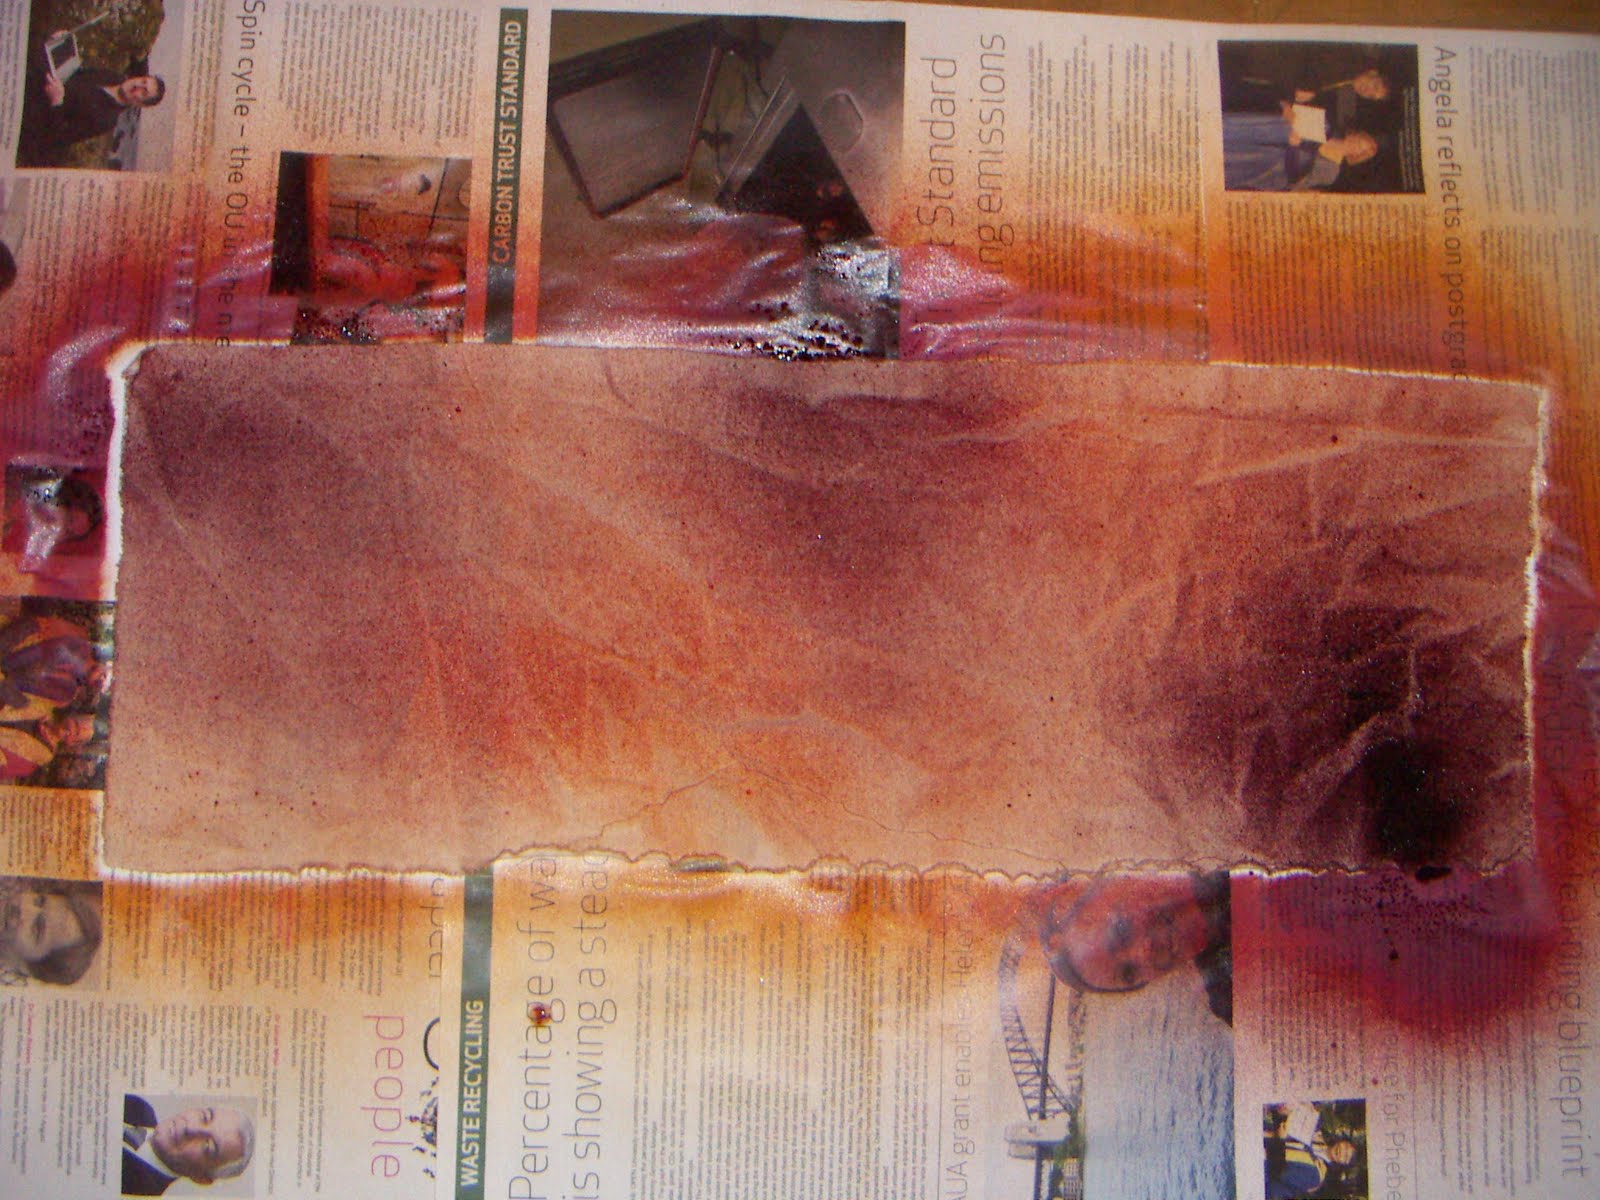
First I cut a piece of calico for the cover, adding an inch each way for seam allowances. This was sprayed with Ranger Colourwash (available from The Altered Element). The more observant of you may note that I didn't iron the calico first! I prefer the marbled look caused by spraying crumpled fabric.


After drying, I ironed the fabric and then stamped repeatedly with Jacquard Lumiere paints (available from The Altered Element) to give background interest.


After stamping I quilted the centre piece (the area forming the front and back covers, not the inners) using a piece of recycled blanket as backing.


I then stamped some accent pieces and sewed them to the front of the journal. Further accents were sewn.


When this was completed I folded the covers inside out and sewed them down. The cover was turned and slipped on. I created slits for the metal closures, which were tied with a co-ordinating ribbon. Lastly a tiny wooden cotton reel (available from The Altered Element) was tied to the page ribbon to complete the look.